Lessons
Lesson 1 - The Basics
Lesson 1.1 - What is Processing
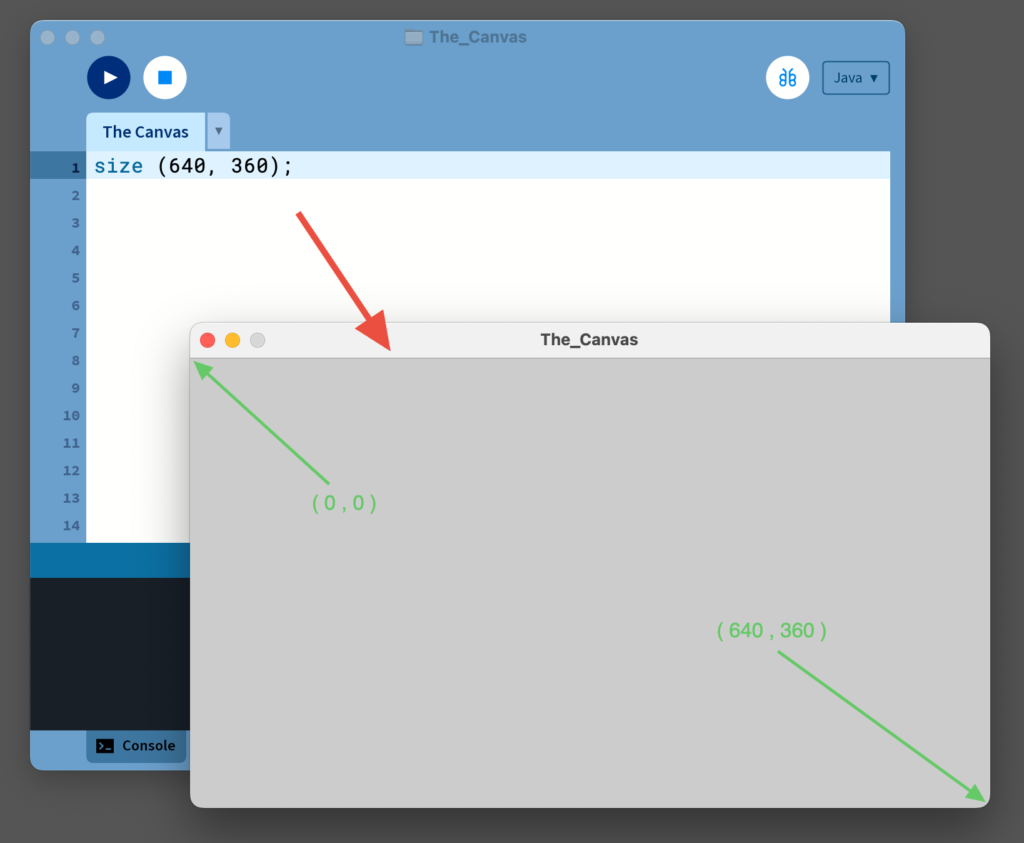
Processing is a flexible software sketchbook that uses an on-screen canvas measured in pixels, where you can draw shapes to make images and animations with coding.
Download Processing here:
Lesson 1.2 - Drawing Basics with built-in functions
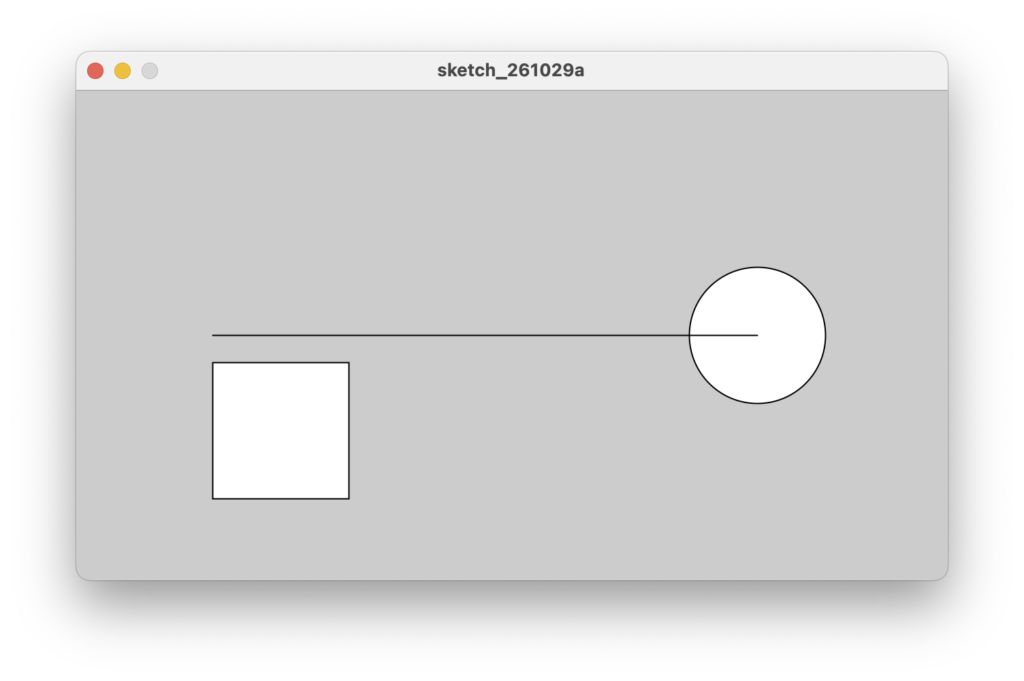
size, circle, square and line are all examples of built-in functions.
In general a function is called by typing its name followed by parenthesis: functionName ();
Some functions need parameters to work.
For example, the size () function is used to determine the size of the canvas – and therefore it needs two parameters: one for the width and one for the height of the canvas.
The parameters are written inside the parenthesis – separated by commas: size (640, 360);
==Also remember the semicolon ; after each statement==
Lesson 1.3 - Color with RGB
Colors on a screen are created by combining light in the three primary colors Red, Green, and Blue.
We specify how much each of the three colors should light up – in values between 0 and 255.
0 is no light and 255 is full power.
The order is Red, Green and Blue, so a totally red color can be written as: (255, 0, 0).
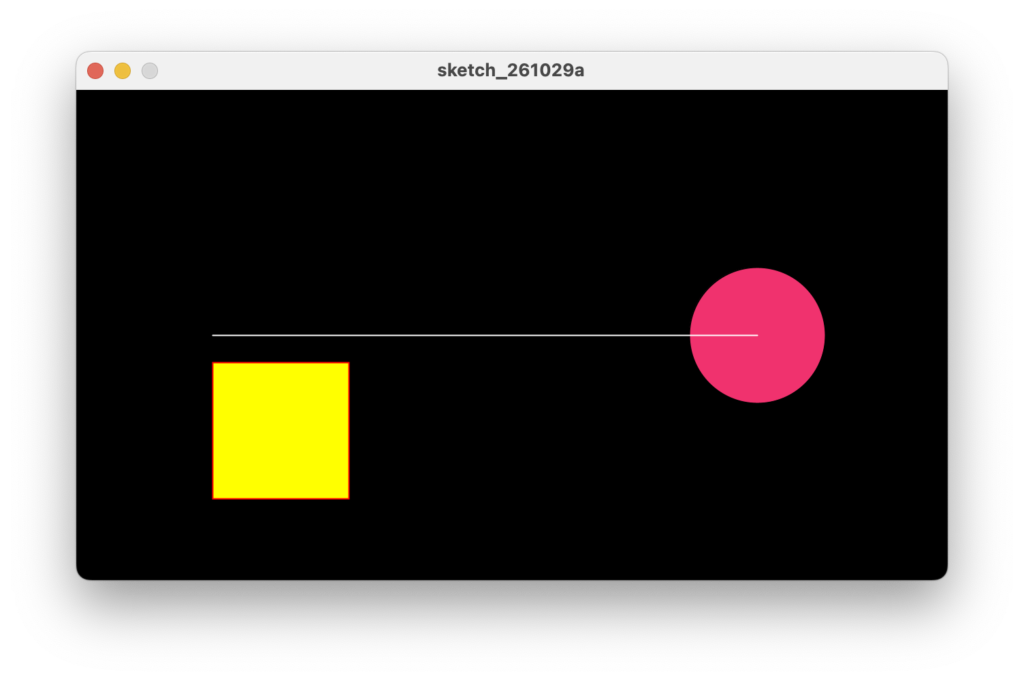
Yellow is: (255, 255, 0) and the values (240, 50, 110) gives us a pink-color by mixing a lot of red, a little green and some blue.
You can play with the RGB-model in this small light-widget →
(the model describes colors with hex-codes instead of RGB-values – but the light-mixing system is the same)
Additive vs. Subtractive Color
Mixing Light vs. Mixing Ink
Drag the circles so they overlap.
On the left you're stacking colored light - on the right, colored ink.
Same idea, opposite math.
LightAdditive · RGB
More overlapping light = brighter.
All three together makes white.
Ink / PaintSubtractive · CMY
More overlapping ink = darker.
All three together makes black(-ish).
Lesson 1.4 - Color in Processing
We can use the RGB-model in functions that tell Processing what color to use when it draws on the canvas.background (r, g, b) tells Processing what color the canvas has.fill (r, g, b) tells Processing what color to use as the fill in a shape.stroke (r, g, b) tells Processing what color to use as the stroke in a shape or a line.
Notice that Processing keeps using a color until it is told to change to another color for that purpose.
Also notice that when we use only one parameter in stroke (255); Processing treats this as “255” for both red, green and blue – making only greyscale colors – in this case pure white.
Now try different colors yourself.
Also try to move the function background (0, 0, 0);
to another line in the code.
What happens?
Lesson 1.5 - Flow
So far we have just written our commands as one function after the other.
We will now organize our code in blocks – one “setup”-block and one “draw”-block.
When we do this, Processing runs the code in the “setup”-block once when it starts – and then it loops over all the code in the “draw”-block over and over, until the program is stopped.
==A block of code is between curly brackets: { and }==
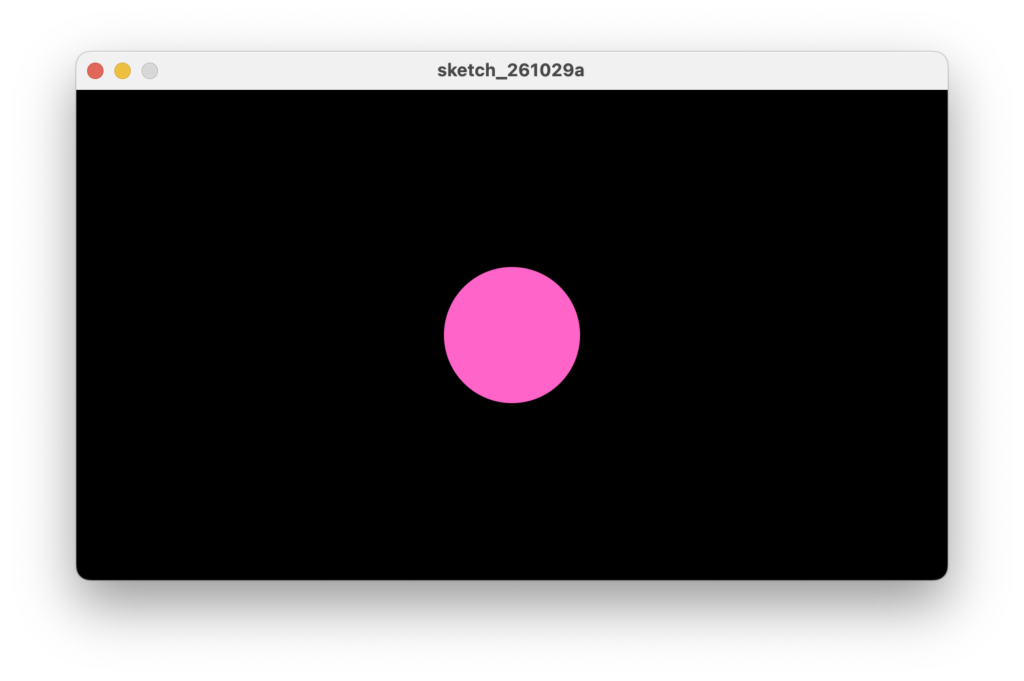
A pink circle with no stroke on a black background.
Now rearrange the code into the two blocksvoid setup () and void draw ()
These blocks are also built-in functions, and they need the keyword void in front of them (we will get back to that later…)
Lesson 2 - Variables
Lesson 2.1 - What is a variable
Variables are placeholders for values (or text) that can be stored and then used when needed.
And as the name suggests the value of a variable can change.
A variable always has a name and a value.
Lesson 2.2 - A built-in Variable
When we draw a circle we give the circle-function values for the position of the circle with x- and y-coordinates and a value for the size (diameter) of the circle.
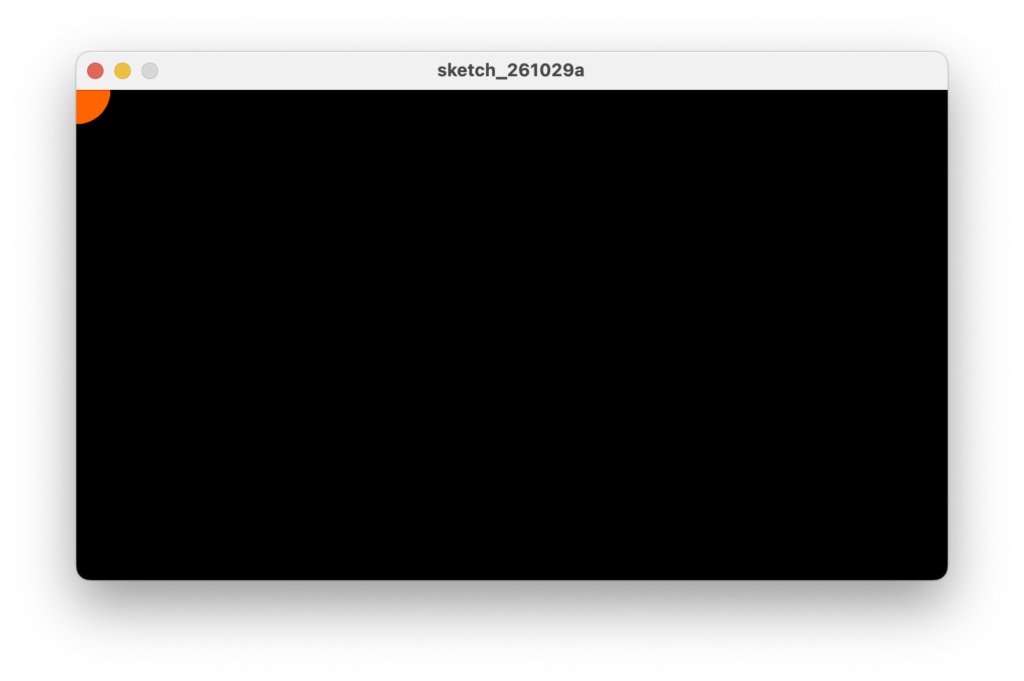
Instead of typing in numbers as the position-values for the circle – let us try to use two variables that are built into Processing – namely mouseX and mouseY that are constantly updated with the values of the x- and y-coordinates of the position of the mouse:
What happens when you move your mouse in the canvas?
Lesson 2.3 - A drawing machine
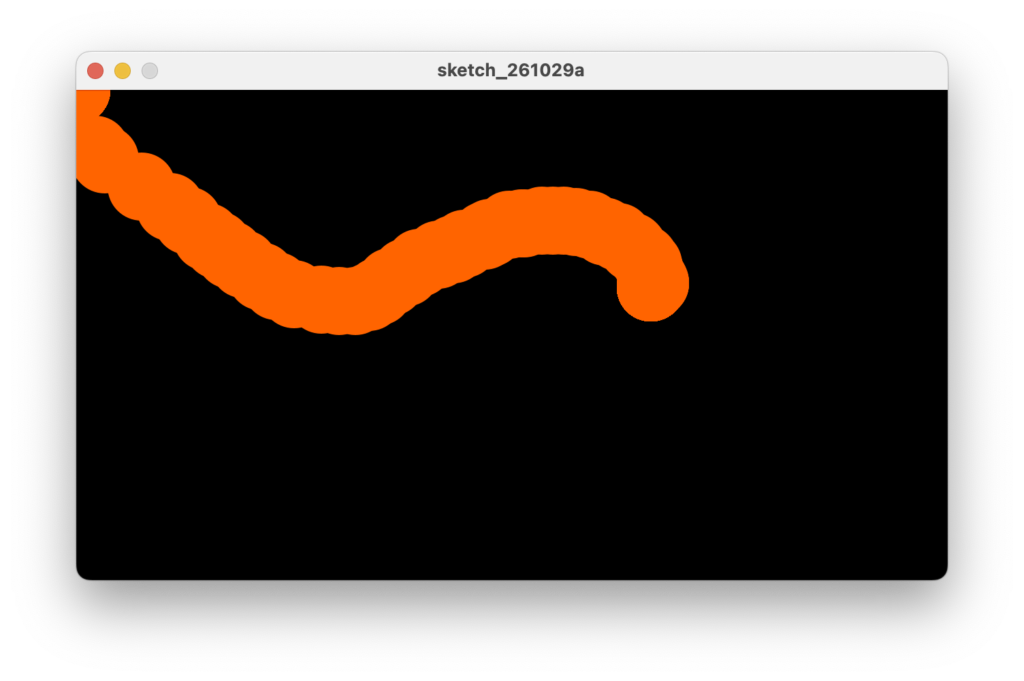
Let’s enhance our small Drawing-program by adding another built-in function void mousePressed()
Move the mouse in the canvas again.
What happens when you click the mouse?
Lesson 2.4 - Other built-in variables
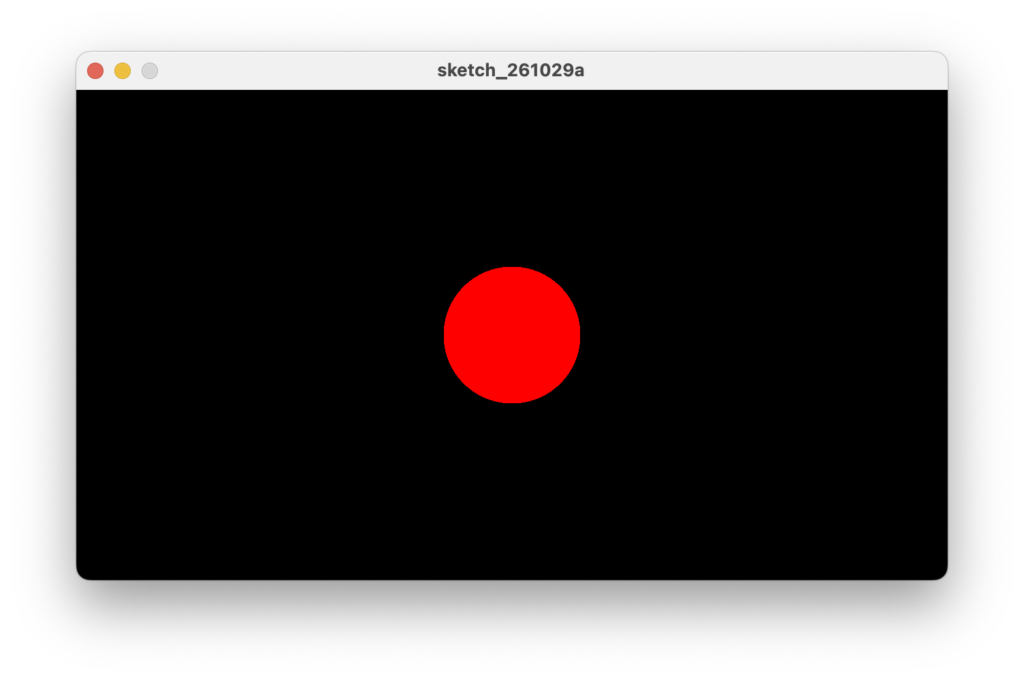
Processing has other built-in variables.
Some very useful ones are: width and height – that hold the width and height of the canvas.
You can also use math to alter the value of a variable: (width/2, height/2) to get the center of the screen.
Lesson 2.5 - Define your own variable
To make your own variable you must declare it by giving it a data-type and a name.
The data-type determines what kind of data the variable will be holding – for example numbers or letters.
Take this variable-declaration: int myNumberVariable;
Here int is the datatype (a whole number – an integer) and myNumberVariable is the name.
Here are some data-types that we will use often:
• int (integers)
• float (decimal numbers)
• String (text)
• Boolean (True or False)
• color (colours)
Naming rules and conventions
The convention is to name variables with “camelCase” (begin with small letter – then capitalize first letter of words)
Lesson 2.6 - Move the ball
We can now use the variable for moving the circle by incrementing the value inside the draw-function:
Can you change the speed of the moving ball?
Lesson 3 - Conditionals - part 1
Lesson 3.1 - What is a conditional
Conditionals can control the flow of the code based on conditions.
A condition is something that is either true or false – for example:
the expression == 50 > 20 is true==, and the expression == 50 > 60 is false==.
In our code we check if a condition is true or not.
If the condition is true then we run some code, and if the condition is false we run some other code.
Lesson 3.2 - Change background if...
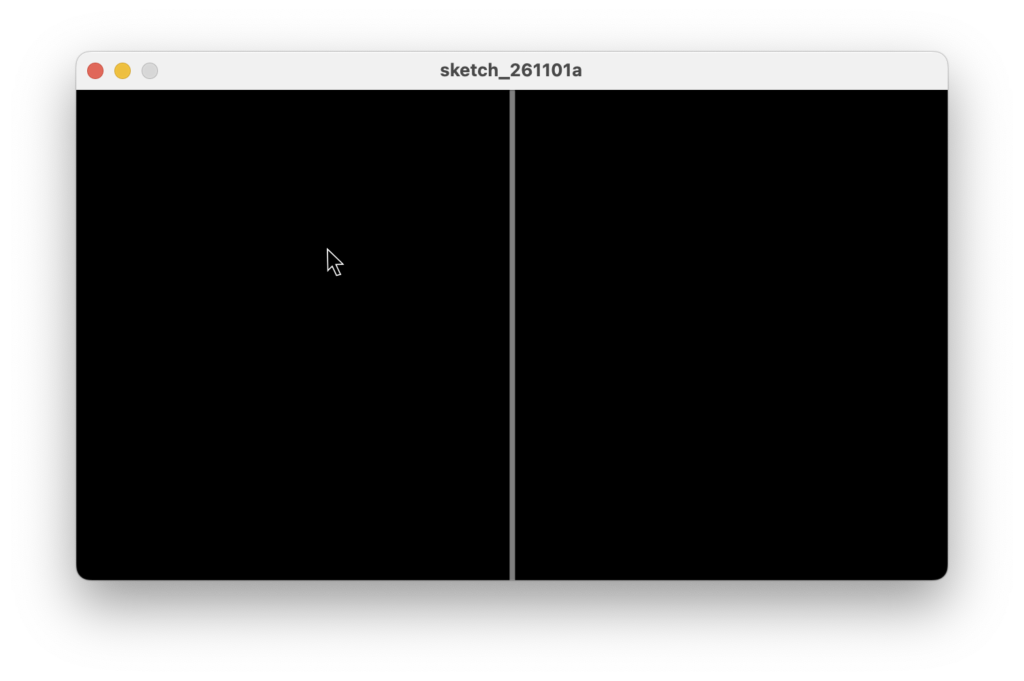
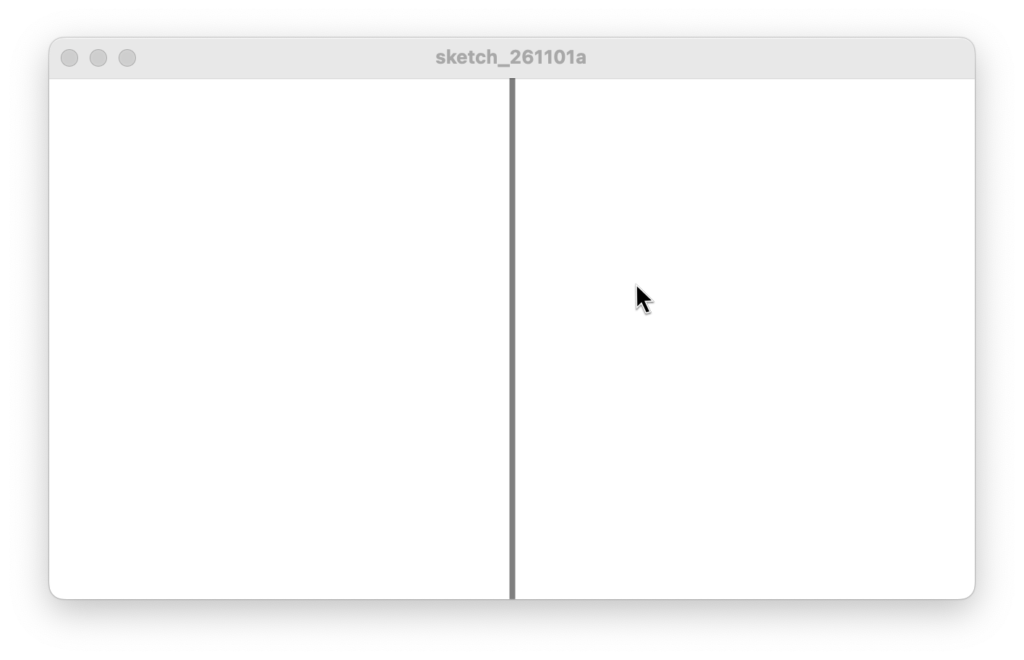
Let us draw a vertical line on our canvas to split it in two halves.
We want to change the color of the background if we move the mouse to the right side of the canvas
Lesson 3.3 - Three areas - the order matters
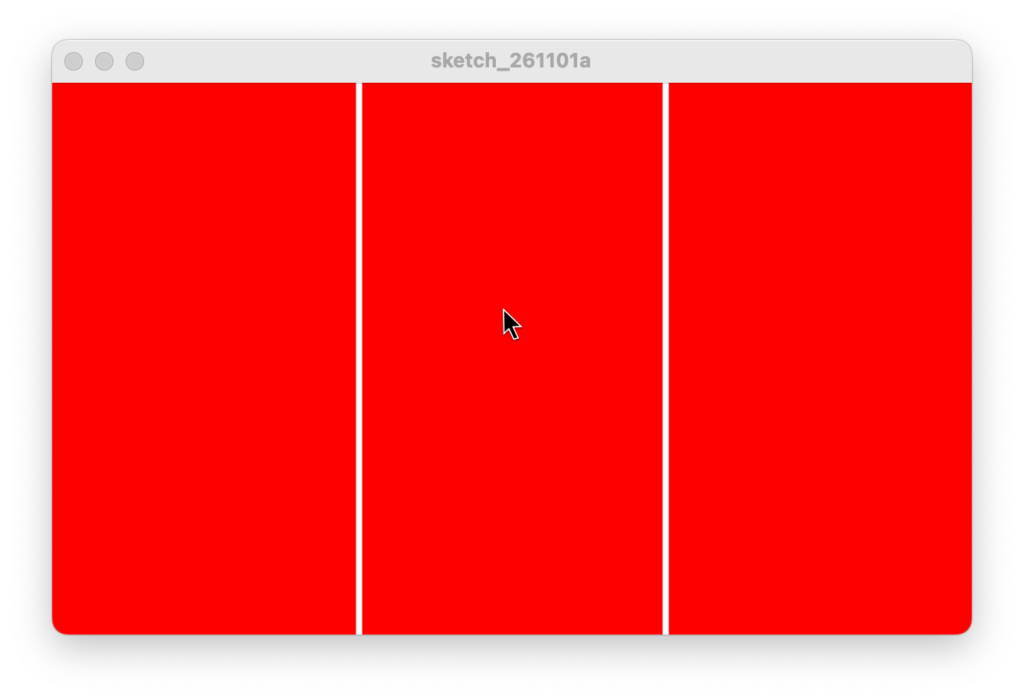
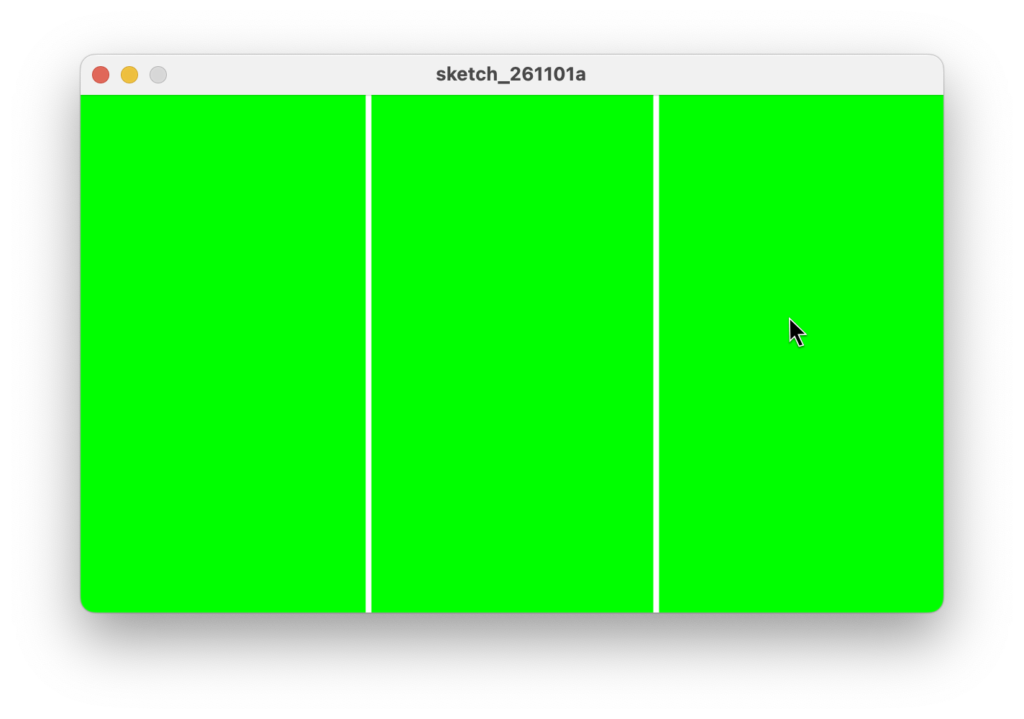
We want three different background colours dependant on where the mouse is.
Move the mouse in the canvas. What happens when you move the mouse to the right-most area?
The code above never asks if mouseX is greater than 400 since it already met a true condition at if (mouseX > 200) – and executes the statement background(255, 0, 0); – it then jumps out of the block to line16.
Change the order of the conditions in line 9+10 and line 11+12
Move the mouse in the canvas.
We now have three different states
Lesson 3.4 - A mouse-over effect
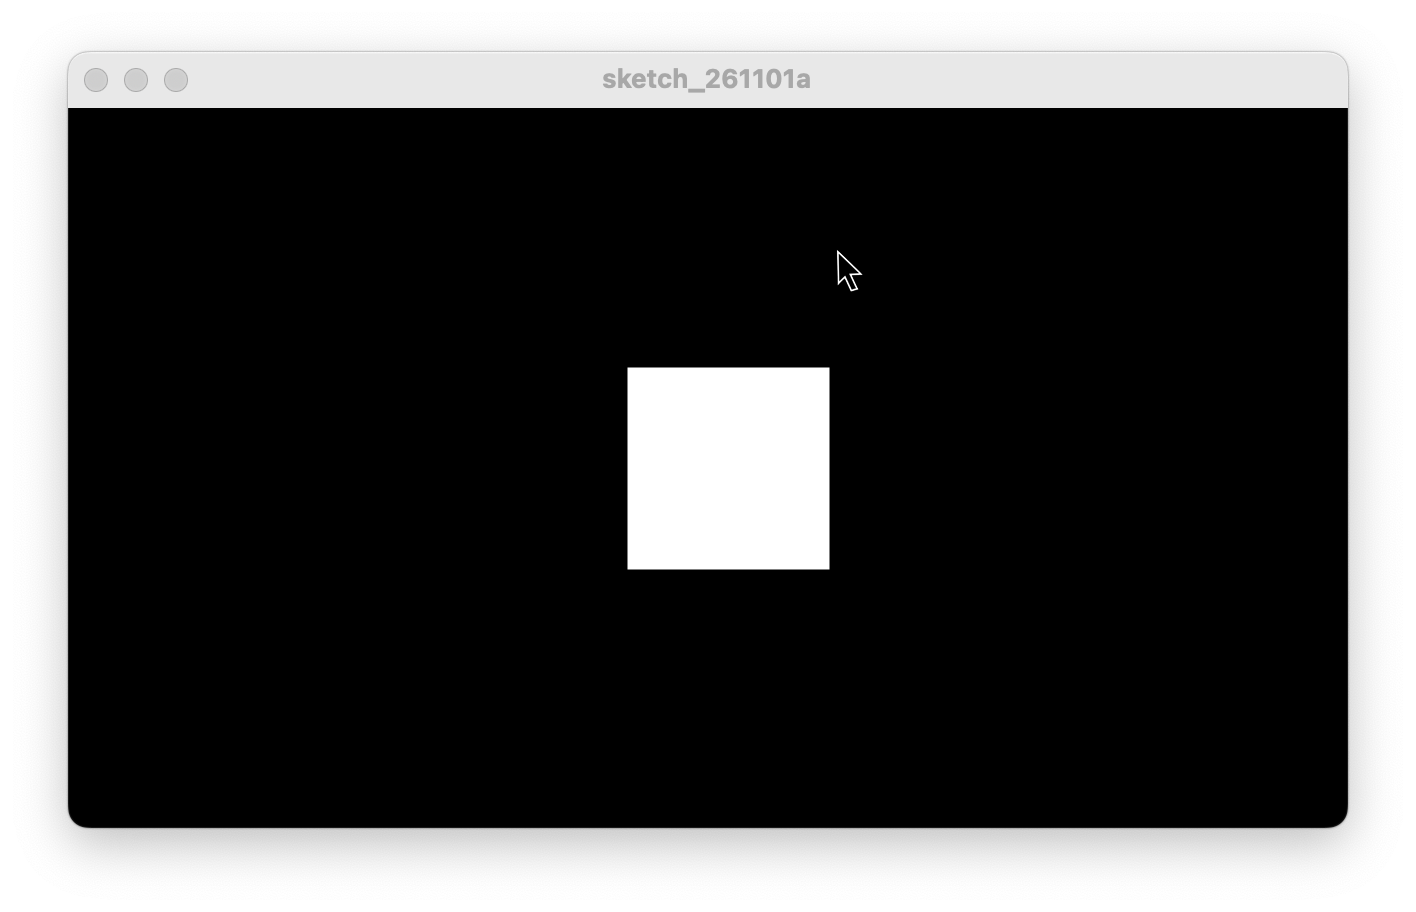
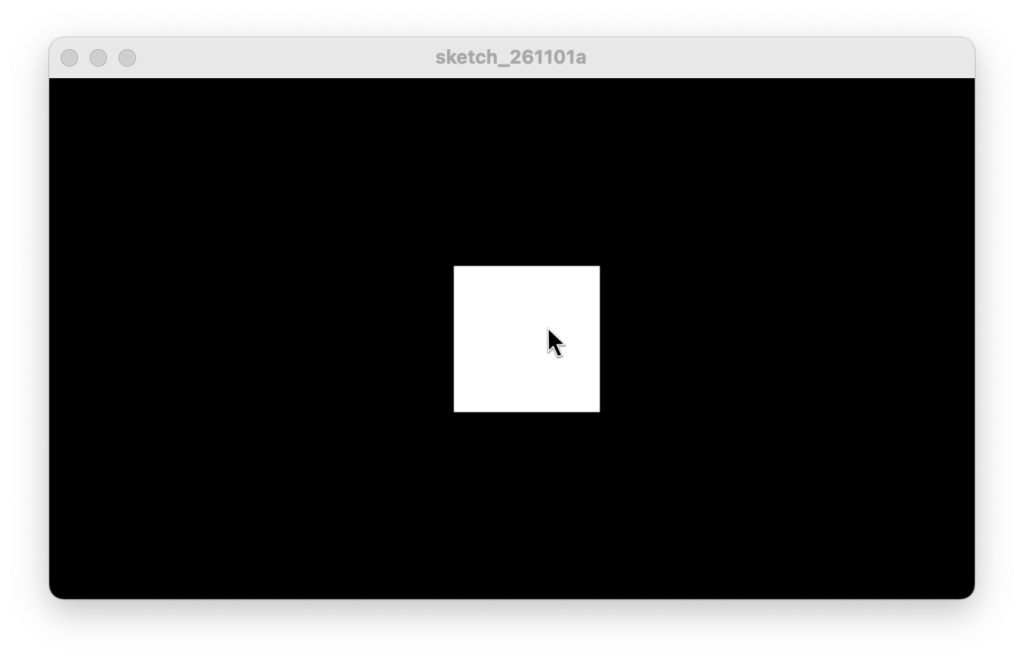
We want to make a mouse-over effect on a square – simulating the behavior of a standard button.
The code above only asks if mouseX is greater than 280 – corresponding to the left side of the square.
To make the mouse-over effect the position of the mouse needs to meet several conditions at the same time.
We can use AND for that – it is written: &&
Lesson 3.5 - EXERCISE
Exercise
Make a mouse-over effect on a circle.
Start by changing the square into a circle placed in the middle of the canvas (the code below).
You then have to change the conditions in the if-statement so that it matches a circle instead of a square.
TIPS
- You will have to use the Processing-function
dist()
Look it up in the reference:
https://processing.org/reference/dist_.html - Maybe define the size of the circle with your own variable.
Instead of just writing “100” as diameter, you can declare a variable called “size” – set it to 100 and then usesizewhen you call the circle function. - By using a variable for the diameter, you can calculate the radius of the circle.
Why is the radius nice to know?
Lesson 4 - Conditionals - part 2
Lesson 4.1 - Bouncing ball
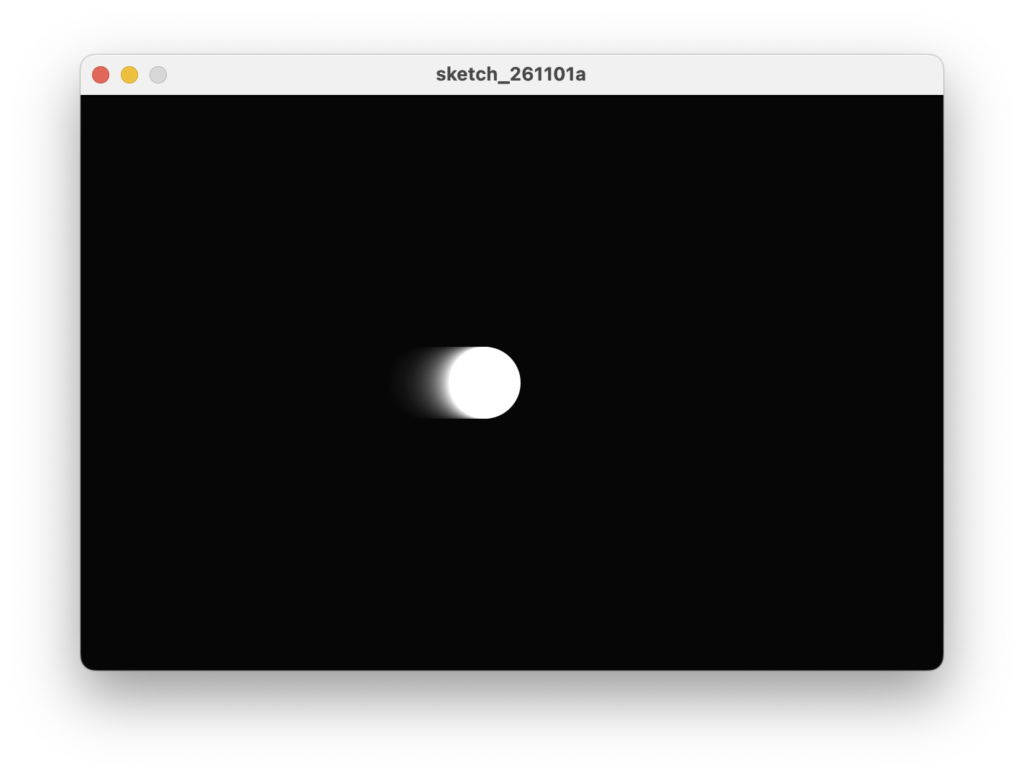
Let’s get back to the ball animation and step by step make the ball bounce against the walls.
We will start by just resetting the position of the ball when it reaches the right edge of the canvas.
We can use a conditional statement that checks if circleX is greater than or equal to the width of the canvas.
The ball now restarts at the left edge when it reaches the right edge.
Lesson 4.2 - Use a variable for ball-speed
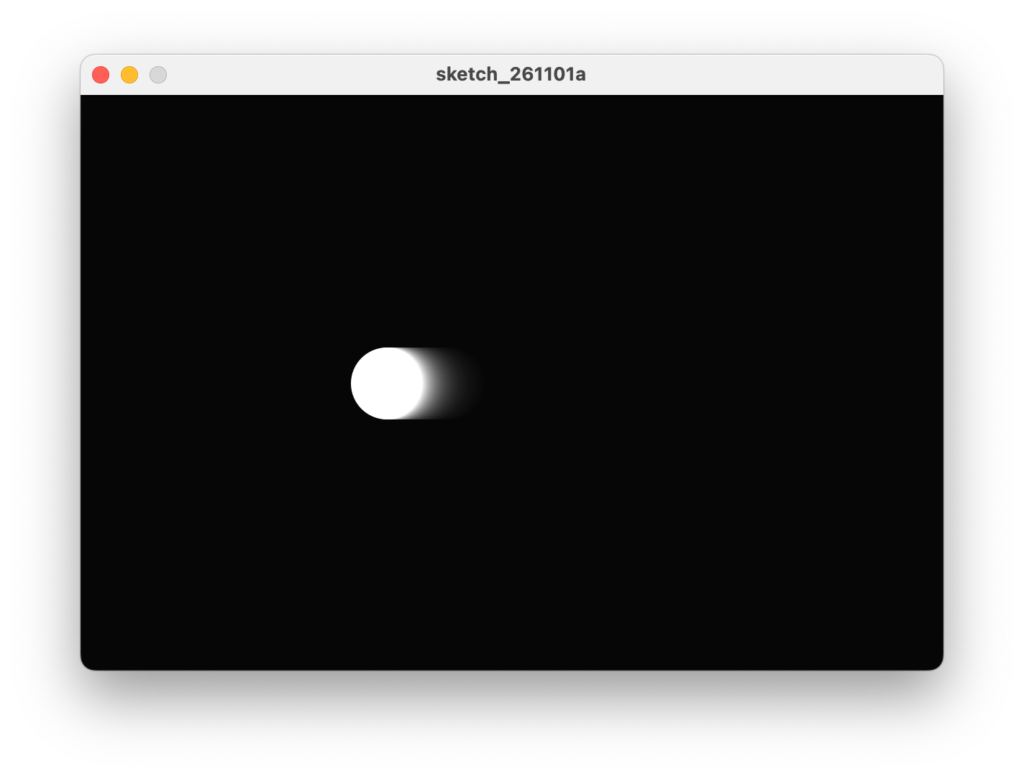
Since we want to change the movement of the ball we will add a variable called ballspeed for the speed of the ball.
We can then increment circleX with ballspeed instead of a fixed value.
Instead of resetting circleX – we can now just give ballspeed a negative value to make the ball go backwards when it reaches the right edge of the canvas.
The ball now bounces off the right edge and moves backwards.
We also want the ball to bounce off the left edge – so we will add another if-statement.
The ball bounces back and forth from wall to wall.
Lesson 4.3 - Clean things up..
The code above works, but what if we want to change the speed of the ball?
We would then have to change the value of ballspeed in three different places!
That way of coding will eventually cause errors.
Instead – let´s do some math with the ballspeed-variable.
We will take advantage of the fact that a negative number multiplied by a negative number gives a positive number.
We have just added two identical statements, and again we can clean up to make our code more simple.
We will merge the two if-statements into one, and use an OR operator between the two conditional statements.
In processing OR is written with two pipes: ||
Lesson 4.4 - Moving in all directions
To also move the ball up and down, we have to introduce a variable for the y-coordinate of the ball.
We also need separate variables for the horizontal speed and the vertical speed.
And now we are at it – let’s also add a variable for the size of the ball, and let’s initialize all the variables when we declare them in the beginning of our code.
Then we have (almost) no written numbers in our draw-function. Nice and clean!
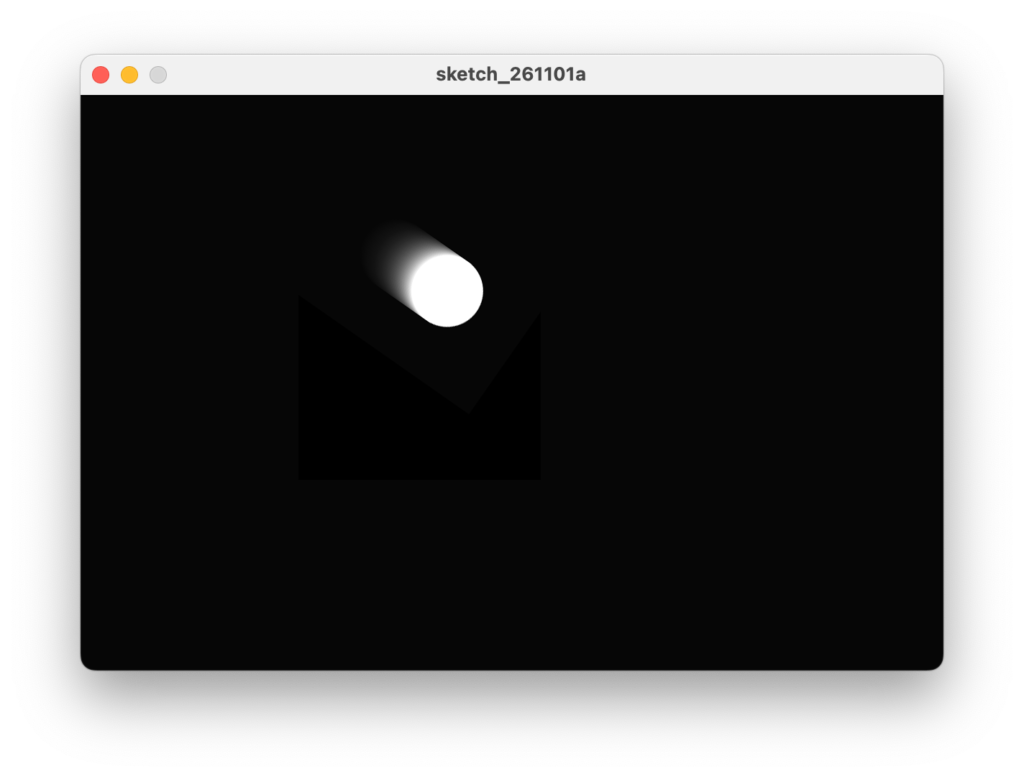
The ball can now go in all directions while bouncing on walls, floor and ceiling!
Bounce off the actual edges
We want to make the ball bounce just as it touches the walls – not when it’s halfway through an edge.
To achieve that, we have to subtract or add half the size of the ball, when asking about the balls x- and y-position in our conditional statements.
Luckily we already have the size of the ball in the variable ballsize.
To prevent the ball from getting stuck in the corner when we run the program, we also need to move the ball away from the edge. We use the ballsize/2 for that as well.
Lesson 5 - Random and Color
Lesson 5.1 - The random-function
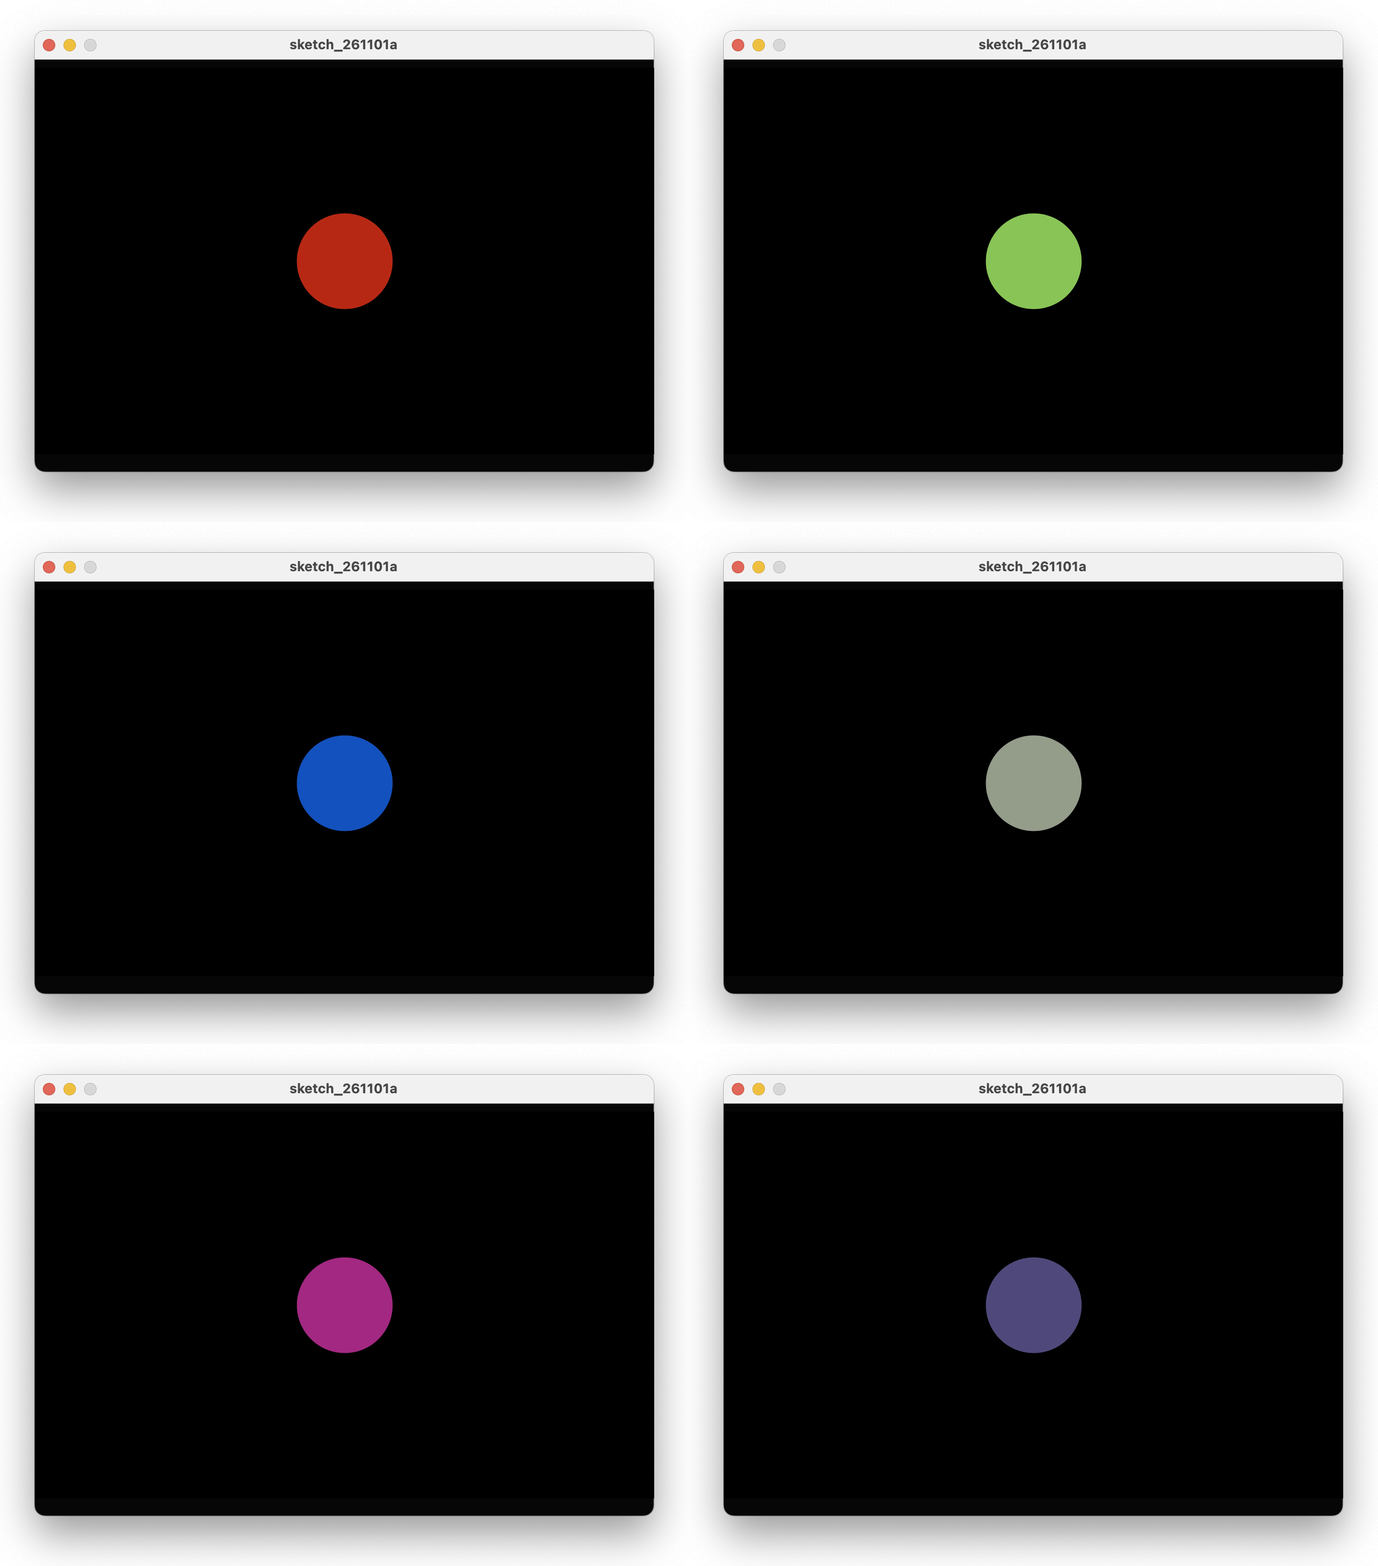
We sometimes want some randomness in our code.
Maybe a random color for a shape – or things that happen sometimes and sometimes not.
Processing has a function for generating random numbers we can then use in our code: random ().
The random() function takes one or two numbers as arguments and returns a random value between the two numbers.
If only one argument is passed, the function returns numbers between 0 and that argument.
Examples
random(100, 200) – returns a value between 100 and 200.
random(0, 200) – returns a value between 0 and 200.
random(200) – returns a value between 0 and 200.
Each time the circle is drawn it gets a new color with random values for red, green and blue.
Lesson 5.2 - The color-function and the color datatype
Processing is made for visual arts and we often need to work with different colors.
Therefore Processing has tools for working with colors.
We have a datatype named color so that we can make variables that can hold a color.
We also have a function: color () that can create a color (stored as a number behind the scenes).
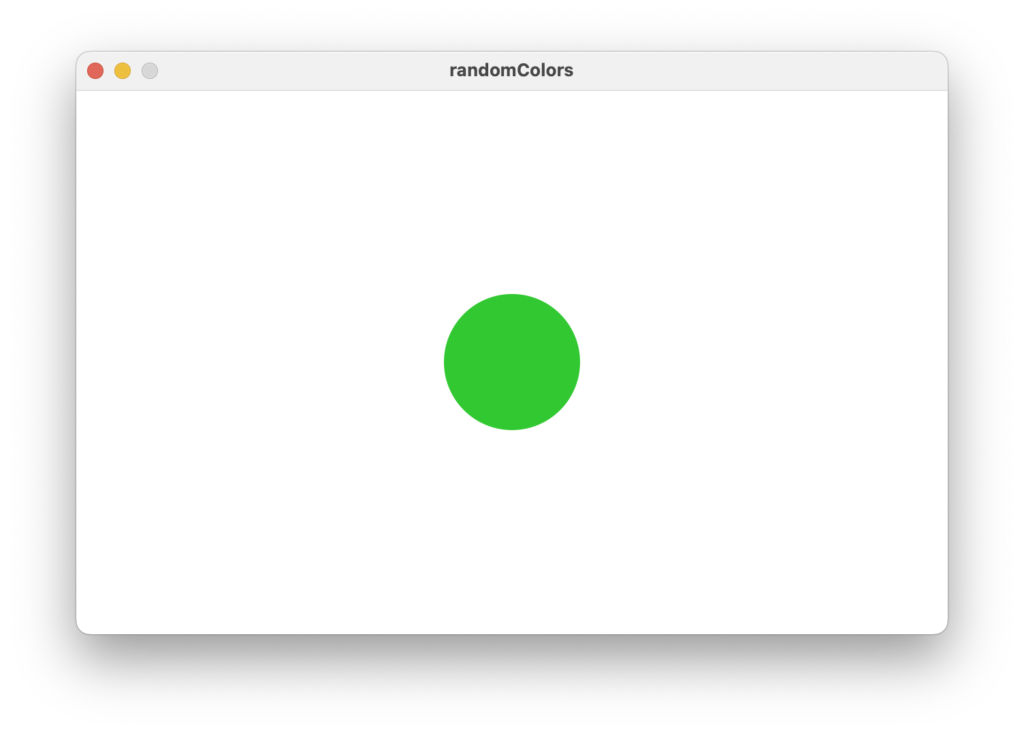
In the code below we declare the variable col with the datatype of color and we initialize it using the function color ()
In the draw-function we then use the variable col as an argument in the fill-function.
Transparency
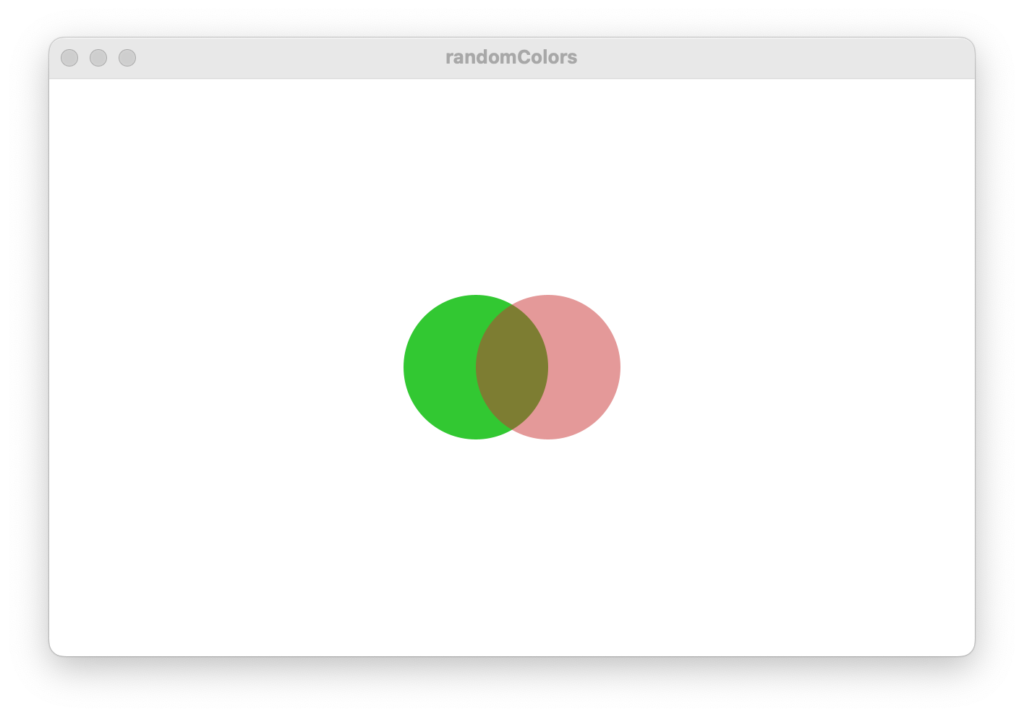
Colors can also have an amount of transparency – so that the fill-color of a shape blends with the color behind.
The transparency is set by adding a fourth parameter to the color-description: color (200, 50, 50, 128) .
This fourth argument for a color is also called the alpha channel.
The transparency of the red circle is set to 128 – making it 50% transparent (255/2 ≈ 128)
Lesson X.3 -
Introduction
Comments to the image
Explanations and instructions for next step..
Comments to the image
Lesson X.4 -
Introduction
Comments to the image
Explanations and instructions for next step..
Comments to the image
Lesson X.5 -
Introduction
Comments to the image
Explanations and instructions for next step..
Comments to the image